Concho Belt MasterClass Course

$119.95
(Instant Access Sent To Your Inbox!)


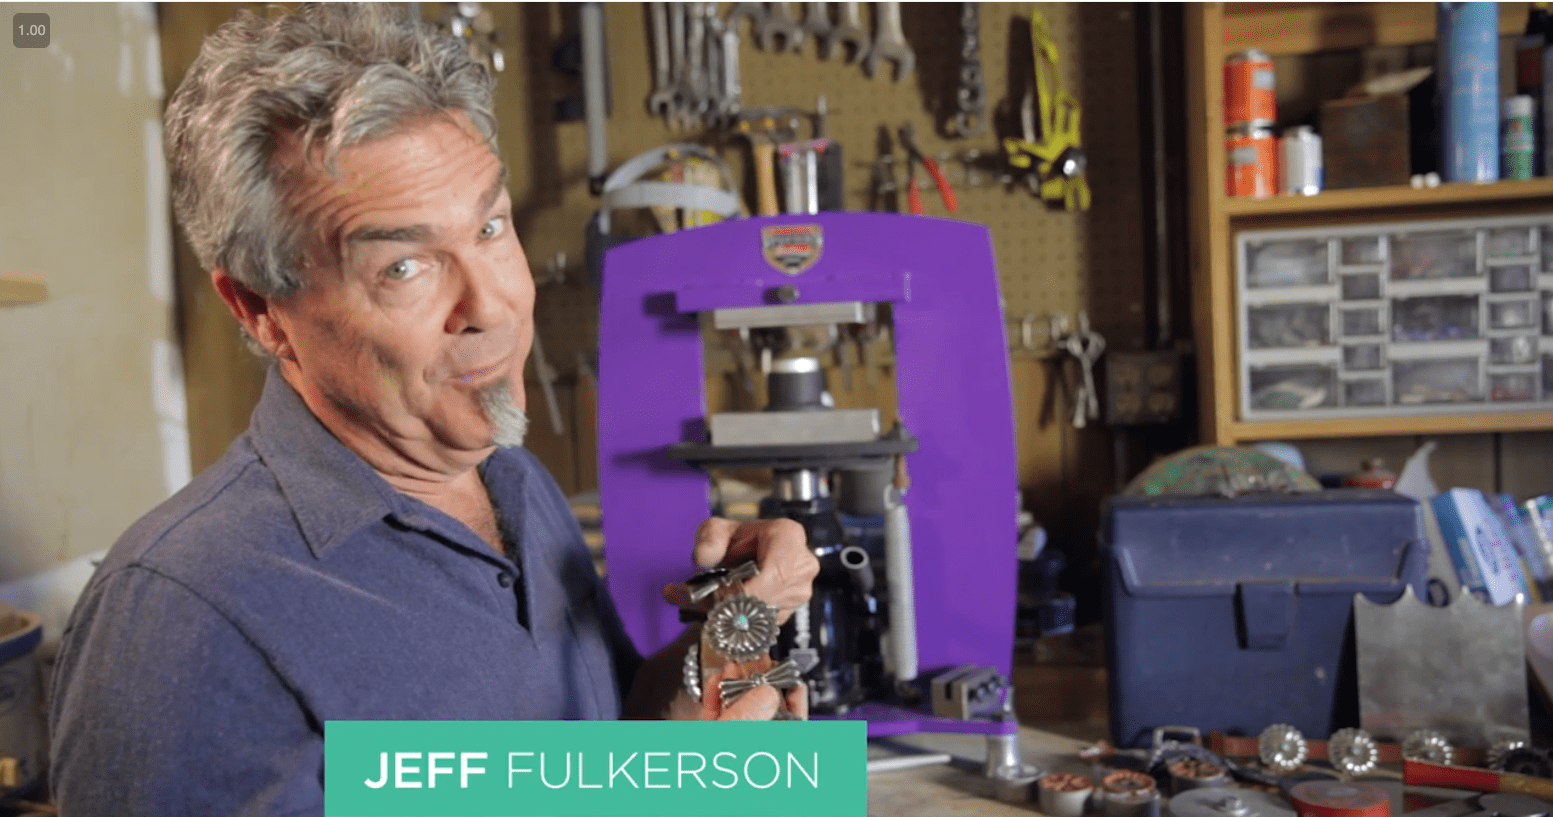
In this video, Artist Jeff Fulkerson will show you how to make that belt using a hydraulic press and traditional metal stamps. I’ll show you how to make a copper link Concho belt and a more traditional silver Concho belt with a piece of turquoise set on each Concho. You’ll also learn how attach loops and put your Conchos on a leather belt.
Have you always wanted to make a Concho belt, but didn’t know where to begin? In this video, Artist Jeff Fulkerson will show you how to make that belt using a hydraulic press and traditional metal stamps. I’ll show you how to make a copper link Concho belt and a more traditional silver Concho belt with a piece of turquoise set on each Concho. You’ll also learn how attach loops and put your Conchos on a leather belt.
When you purchase this course, you will receive unlimited access to all of the lesson videos.
Lessons In This Course
Copper Module
Lesson 1:
Here’s a look at the equipment you will need to get started making your belt, including the hydraulic press, impression dies, & containment vessels.
Lesson 2:
In this chapter we’ll look at the first of two ways we’re going to use with the press to get a good impression for your copper Conchos. We’ll discuss safety and proper placement of the dies in the press.
Lesson 3:
Here we’ll look at how to stamp your Conchos, what equipment you need, as well as proper stamping technique to give you a professional looking impression.
Lesson 4:
In this chapter we’ll look at cutting out the outline of the Concho and then cleaning it up with a file and sanding pad. I’ll also show you how to flatten the edge of the Concho without damaging the impression.
Lesson 5:
It’s time to solder on the rings that will hold the belt together. We’ll talk about soldering copper as well as a soldering technique called “pick soldering” to solder the jump rings together. And then we’ll give the belt a matte finish using liver of sulfur gel.
Silver Module
Lesson 6:
Here you’ll learn how to use a pancake die in the press to cut perfect circles and eliminate un-needed waste.
Lesson 7:
In this chapter you’ll learn another method for forming Conchos using contained urethane.
Lesson 8:
Once again, we are stamping the Conchos.
Lesson 9:
Here we cut out the Concho, file, and then we will do a little forming on it to give it a little PoP! I’ll also show you how to make a jig to make your belt loops so that you can produce as many as you need and they will be exactly the same.
Lesson 10:
Here we’ll solder on the belt loops on the back and the bezel cups on the front. I’ll talk a little bit about fire scale, as well as show you a technique to solder a LARGE piece to a small piece and still get a good joint.
Lesson 11:
In this chapter we’ll patina out Concho and I’ll show you how to set your cabochon before we polish the piece.
Lesson 12:
It’s time to go to the polishing cabinet and put a high polish on our Conchos. We’ll discuss proper and safe polishing techniques as well as safety procedures and safety equipment to allow you to safely and consistently get a good polish.
Lesson 13:
It’s now time to assemble your new belt and wear it out to show off to all your friends!
Complete your purchase below and get instant access to this amazing video course
CONTACT DETAILS
Copyright © 2022 Artist Jeff Fulkerson
Web Design by FroBro Web Technologies
QUICK LINKS
Copyright © 2022 Artist Jeff Fulkerson | Web Design by FroBro Web Technologies